
In this post, I’ll go over how you can use Oracle WebLogic as your Java based webservice to host a Logi Analaytics application. The process is similar to hosting a Logi Analytics application on another Java service, such as Apache Tomcat or JBoss, but features a couple of specific quirks that are worth going over in detail.
Installing Java and WebLogic
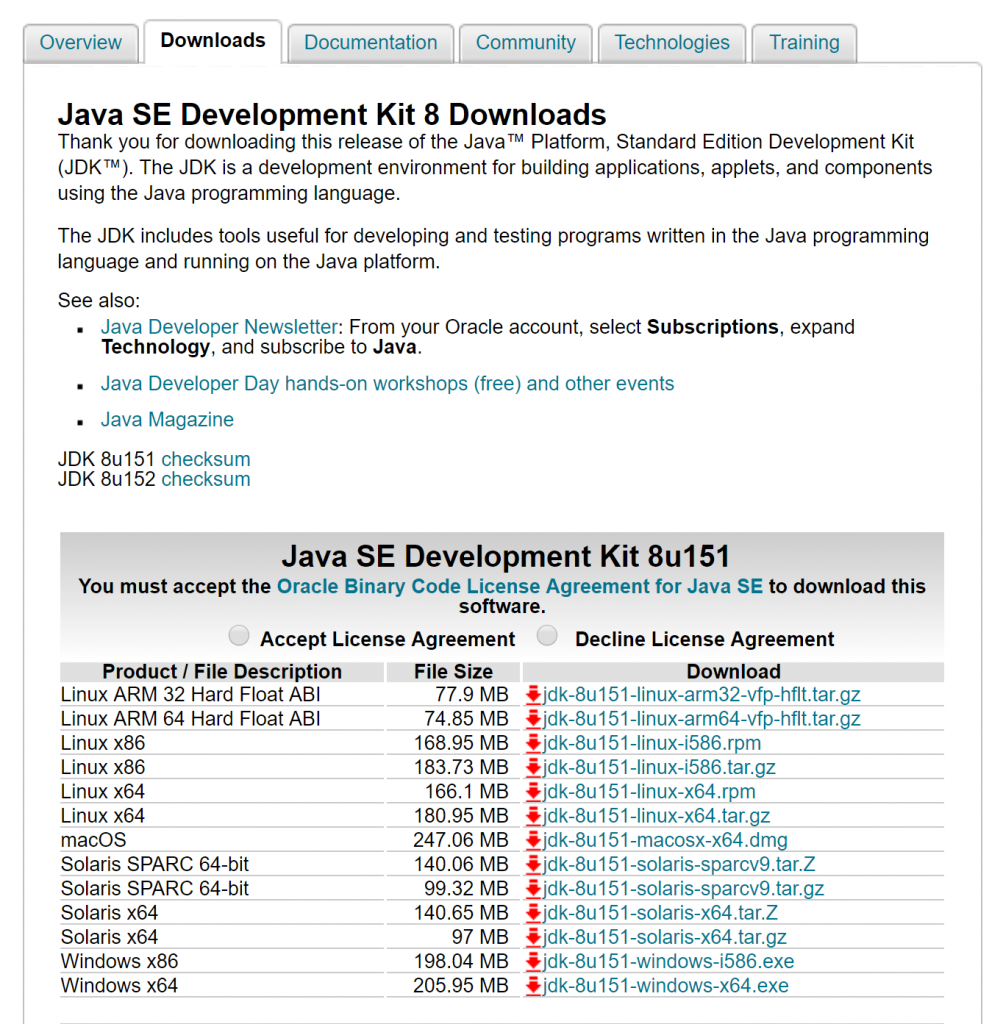
The first step in hosting your LogiAnalytics application is to install the Java Development Kit (JDK) and the web service, WebLogic. To download the latest version of the JDK, go to http://www.oracle.com/technetwork/java/javase/downloads/index.html and select the correct version of the JDK installer for your operating system. Once the installer is downloaded, run it, and make sure that you know where the Java system files are located on your hard drive, as you’ll need to reference them later.
Installing Java and WebLogic
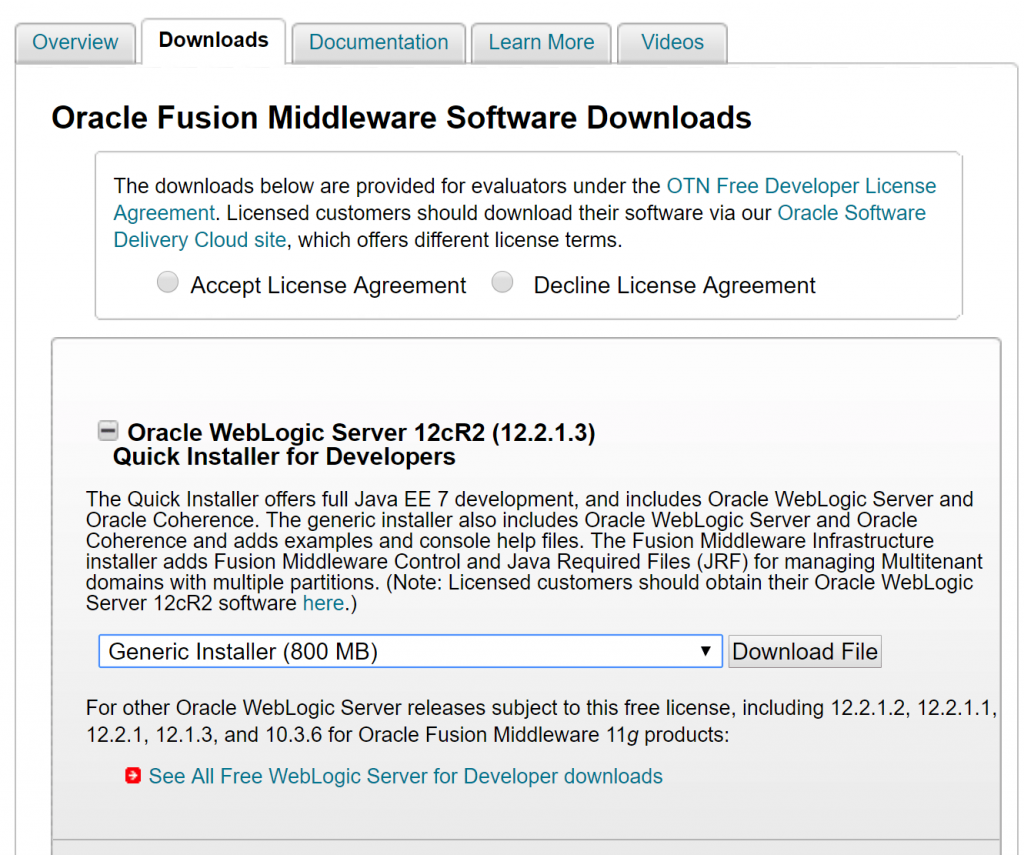
Once you have the JDK, you can download the latest version of WebLogic from http://www.oracle.com/technetwork/middleware/weblogic/overview/index.html. Again, go to the downloads page and select the correct version for your operating system. Then, within a terminal program, go to the folder that contains your WebLogic installer jar, and run the command: “java -jar <weblogic_jar_file_name>”. If the java command has not been added to your terminal path, you may need to use the full file path to your java executable, such as: “C:\Program Files\Java\jdk1.8.0_131\bin\java -jar …..” This command will open the WebLogic installer. Follow the prompts to install WebLogic Server.
installing WebLogic Server
Creating a WebLogic Domain
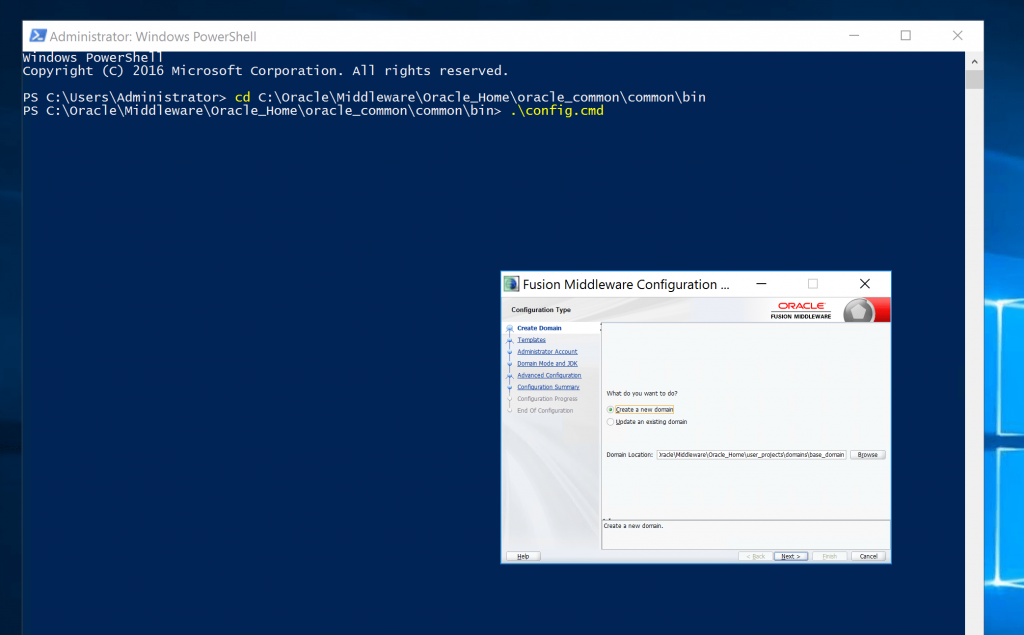
With WebLogic installed, it’s time to set up your server domain. Open a terminal, and navigate to your oracle home location (e.g., “C:\Oracle\Middleware\Oracle_Home”), and then further to: “<ORACLE_HOME>\oracle_common\common\bin”. Run “config.cmd”. This will open the WebLogic configuration wizard, which will allow you to set up a new domain where your server will be hosted. Follow the prompts in the wizard to create a new domain.
create a new domain
Deploying Your Logi Application
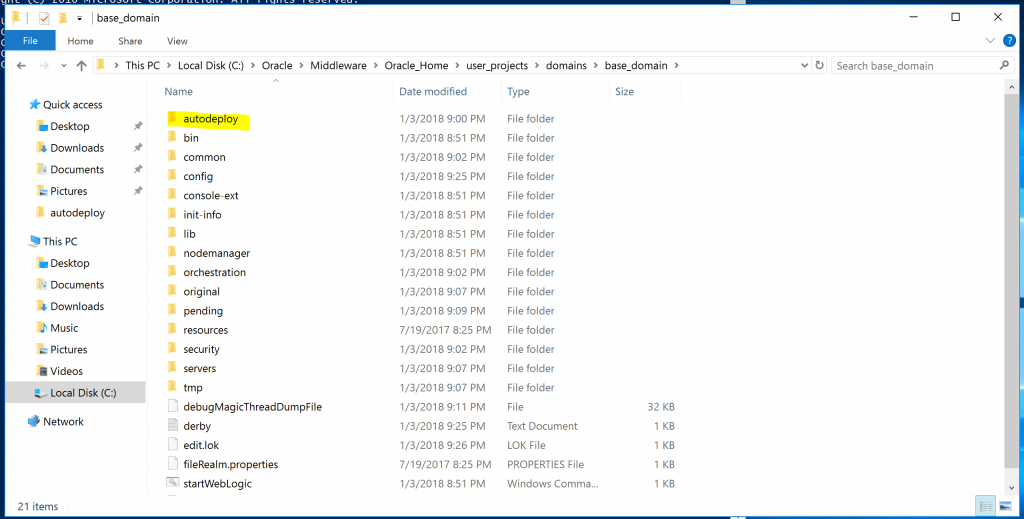
This should create a folder at “<ORACLE_HOME>\user_projects\domains\<your domain name>”. Inside your domain files, place your Logi program folder into the folder “autodeploy”. Once the files are copied, add the extension “.war” to the end of your Logi program folder’s filename. Lastly, you need to download an additional xml file provided by Logi, and save it into the WEB-INF folder of your Logi program. If you’re using Oracle WebLogic 12c, download this file at http://devnet.logianalytics.com/downloads/info/java/weblogic12c/weblogic.xml. If you are using BEA WebLogic 10, only versions 10-10.3 are supported. For versions 10-10.2, download the weblogic.xml file here: http://devnet.logianalytics.com/downloads/info/java/weblogic10/weblogic10.xml. If you are using BEA WebLogic 10.3, download the xml file here: http://devnet.logianalytics.com/downloads/info/java/weblogic10/weblogic10.3.xml.
WEB-INF folder
Run Your Server
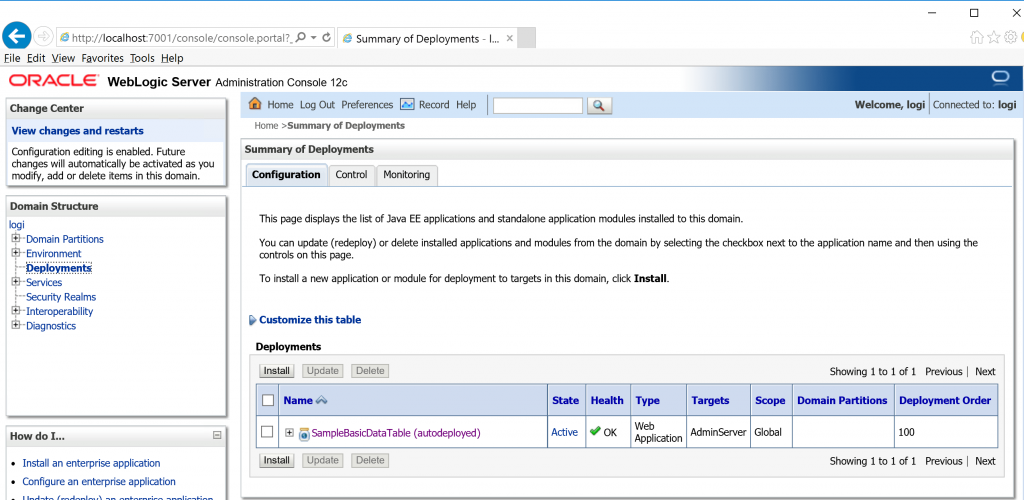
Finally, in your terminal window, navigate to your domain’s main folder (“<ORACLE_HOME>\user_projects\domains\<your domain name>”) and run “startWebLogic.cmd”. This will start your hosting service, and automatically deploy your Logi application. When the starter’s logs say the server is running, confirm that your application is deployed by visiting its URL, or by going to the WebLogic console, which will be located at http://host:<WebLogic_port>/console.
Run Your Server